
Plywood is a versatile, affordable material widely used for outdoor projects, from building decks and sheds to crafting furniture and even boats. However, the inherent problem with plywood is that, like any natural material, it is susceptible to moisture. Left untreated, plywood can absorb water, leading to swelling, warping, and severe degradation. Therefore, learning how to waterproof plywood is crucial for ensuring its durability and extending the lifespan of any project you undertake.
In this guide, we will walk you through everything you need to know about how to waterproof plywood, ensuring your wood remains protected from the elements and serves you well for years to come. Whether you’re planning a DIY outdoor project or professional construction, the following tips will help you safeguard plywood against moisture damage effectively.
Why Waterproof Plywood? The Importance of Protection
Waterproofing plywood may seem like an optional step for many projects, but the reality is that it’s essential for preserving the material’s integrity. Let’s explore why this process is so important.
The Problems Caused by Unprotected Plywood
When plywood is exposed to moisture without proper waterproofing, it can quickly become damaged. Common problems include:
- Swelling: Plywood is made of thin layers (called veneers), and these layers can expand when exposed to water. This causes the plywood to swell, altering its shape and making it unsuitable for use in precise construction projects.
- Rot and Mold: The fibers in plywood are highly absorbent, which makes the material prone to rot when moisture is allowed to seep into its layers. Rot weakens the structure of the wood and can cause it to crumble over time, reducing its strength. Similarly, mold and mildew thrive in damp environments, and they can degrade the plywood’s appearance and integrity.
- Delamination: Plywood is a composite material made from several layers of wood glued together. When moisture gets in between these layers, it can cause them to separate (or delaminate), rendering the plywood unstable and unsuitable for construction.
Benefits of Waterproofing Plywood
Waterproofing plywood provides numerous benefits, especially when it comes to extending the material’s longevity and protecting your investment. Here’s how waterproofing helps:
- Increases Lifespan: Proper waterproofing protects the plywood from prolonged exposure to water, preventing the wood from degrading over time and allowing it to last much longer than untreated plywood.
- Enhances Durability: Waterproofing helps the plywood resist scratches, dents, and general wear, particularly when exposed to the outdoors. The added layer of protection shields the wood from the elements, ensuring it remains sturdy.
- Resists Weather Elements: Whether you’re dealing with snow, rain, or intense sunlight, waterproofing ensures that the plywood can withstand harsh weather conditions, making it an ideal solution for outdoor furniture, decking, and more.
By learning how to waterproof plywood, you’re essentially future-proofing your project, preventing the negative effects of water damage and ensuring long-lasting performance.
Materials Needed for Waterproofing Plywood
Before you start the waterproofing process, it’s important to gather the appropriate materials. Here’s what you’ll need:
Types of Waterproofing Products
There are several products available for waterproofing plywood, each with unique characteristics suited for different project needs.
- Waterproofing Sealants: These are clear coatings that create a protective barrier on the surface of the plywood. They are perfect for preventing moisture from penetrating the wood. Some sealants come in tinted versions for those who prefer a colored finish. Clear sealants preserve the natural look of the wood, while tinted ones can add an additional layer of aesthetics to your project.
- Waterproofing Paints: For a thicker, more robust layer of protection, epoxy-based, oil-based, or latex paints are ideal choices. Epoxy-based paints are particularly durable and resistant to water, making them perfect for projects that will face extreme conditions, such as boats or outdoor furniture. Oil-based paints are great for creating a hard, long-lasting finish, while latex paints are quick-drying and easy to apply.
- Varnishes and Oils: Marine varnish and oils, such as tung oil or linseed oil, provide a flexible and water-resistant finish for outdoor wood projects. These products penetrate the wood fibers, creating a protective layer that also maintains the natural beauty of the wood. Marine varnish, in particular, is designed for use in harsh weather environments and can withstand saltwater exposure, making it perfect for boat construction.
- Wax Treatments: Beeswax and paraffin-based waxes offer a natural and easy way to waterproof plywood. While they are less durable than sealants or paints, they are ideal for light-duty outdoor projects like small furniture or decorative items. Wax treatments are simple to apply and can add a lovely sheen to the wood’s surface.
You might be interested in this article: Marine Grade Plywood
Tools Required
To ensure the waterproofing process is efficient and smooth, you’ll need a few essential tools:
- Brushes, Rollers, or Sprayers: These tools are used to apply the waterproofing material to the plywood. Brushes are ideal for small or intricate areas, while rollers and sprayers are better suited for larger surfaces, allowing for quicker application.
- Sandpaper or Sanding Block: Sanding is a crucial step in preparing the plywood before waterproofing. A smooth surface allows the treatment to adhere better and ensures a more even coat. Sanding also helps remove rough edges, ensuring a polished finish.
- Cleaning Supplies: Mild soap, water, and cloths will help remove any dirt, dust, or debris that may prevent the waterproofing material from sticking properly to the plywood surface.
- Gloves and Protective Gear: Waterproofing treatments, particularly paints and sealants, may contain harsh chemicals. To protect your skin and lungs, make sure to wear gloves and, if necessary, a mask or respirator.
Preparing Plywood for Waterproofing
Proper preparation is key to achieving a high-quality waterproof finish. Here are the steps you should follow:
Choosing the Right Plywood for Waterproofing
The first step in waterproofing plywood is selecting the right type of wood. Not all plywood is created equal, and some varieties are better suited for waterproofing than others.
- Marine Plywood: This is the top choice for projects exposed to water. Marine plywood is made with high-quality wood and water-resistant glue, which helps it perform well in moist environments. It’s the best option for boats, docks, and outdoor furniture.
- Exterior-Grade Plywood: While not as resistant as marine plywood, exterior-grade plywood is treated to resist moisture and is a more affordable option for general outdoor projects, such as decks and sheds.
Choosing the right plywood for your project is essential for ensuring the success of your waterproofing efforts.
Surface Preparation
Before applying any waterproofing treatment, the plywood surface must be clean, smooth, and dry.
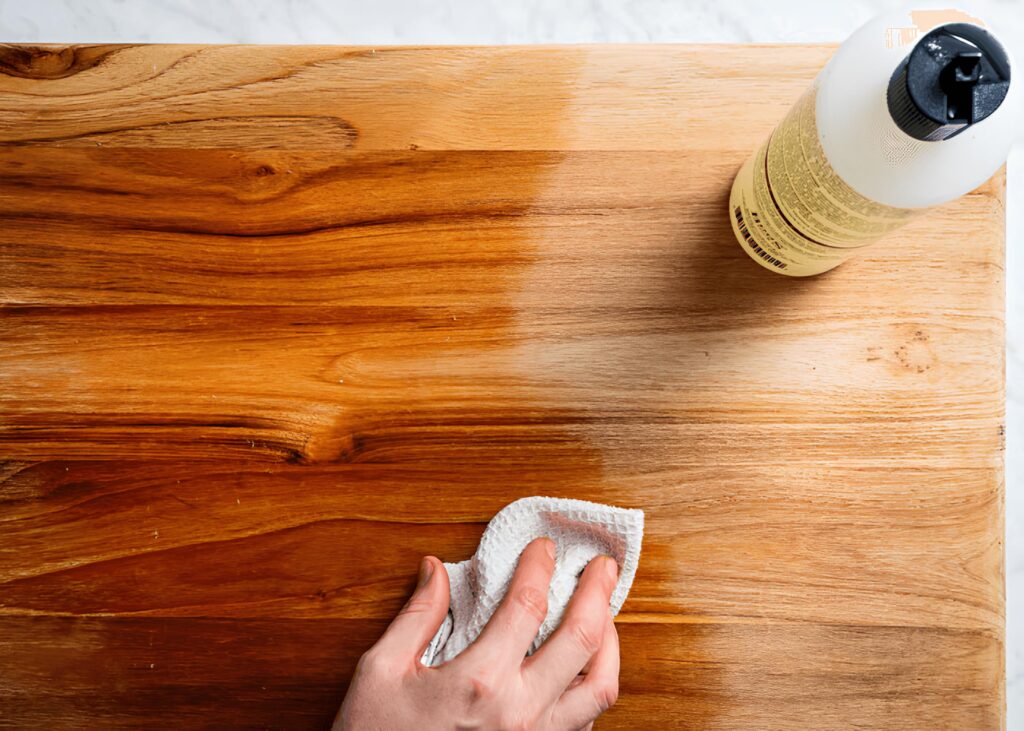
- Cleaning the Plywood: Use a mild soap solution and a cloth to wipe down the plywood surface. This removes dirt, dust, or grease that could interfere with the adhesion of the waterproofing product.
- Sanding the Plywood: Sanding creates a smoother surface and ensures that the waterproofing material will adhere properly. Use medium-grit sandpaper to remove rough spots and prepare the wood for treatment. Make sure to sand with the grain of the wood for the best results.
- Check for Imperfections: Inspect the plywood for cracks, splinters, or any damage. It’s important to repair these before waterproofing. Wood filler or epoxy can be used to fill in cracks or holes, ensuring that the plywood is in optimal condition for treatment.
Waterproofing Methods: How to Protect Plywood from Water Damage
Now that your plywood is prepped, it’s time to apply the waterproofing treatment. Below are the most popular methods for protecting plywood from water damage.
Method 1: Using Waterproofing Sealants
Waterproofing sealants are easy to apply and provide a durable layer of protection for your plywood. Follow these steps for optimal results:
- Prepare the Surface: Ensure that the plywood is clean, dry, and sanded.
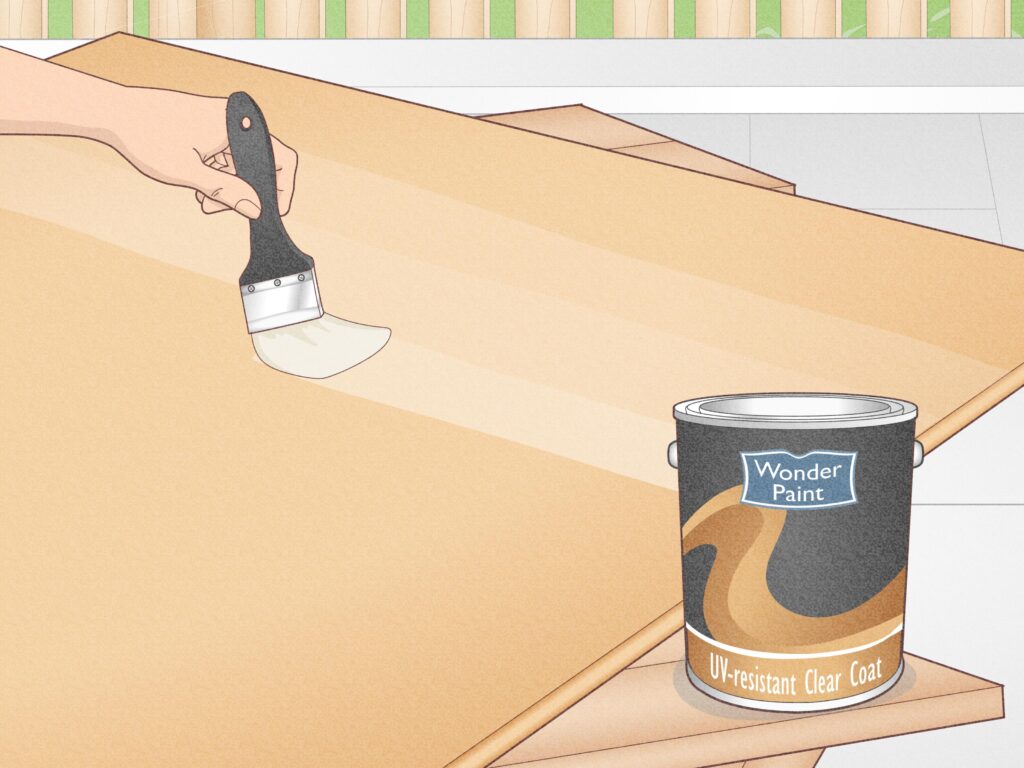
- Apply the Sealant: Using a brush, roller, or sprayer, apply an even coat of waterproofing sealant. Work in sections, applying the sealant from one edge to the other, and make sure to cover the edges and corners, which are most susceptible to water damage.
- Drying Time: Allow the first coat to dry completely before applying additional layers. Depending on the product, you may need two to three coats for optimal waterproofing.
- Check for Full Coverage: After the final coat dries, check the surface for any missed spots or streaks. The surface should appear uniform and smooth.
You might be interested in this article: Can Plywood Get Wet?
Method 2: Using Waterproof Paints
Waterproof paints offer a thicker, more durable layer of protection for plywood. Here’s how to apply them:
- Surface Prep: Sand and clean the plywood to remove any dust, dirt, or oils that could interfere with the paint’s adhesion.
- Priming the Surface: Some waterproof paints require a primer to ensure better adhesion. If the paint you are using recommends it, apply a coat of primer and let it dry completely.
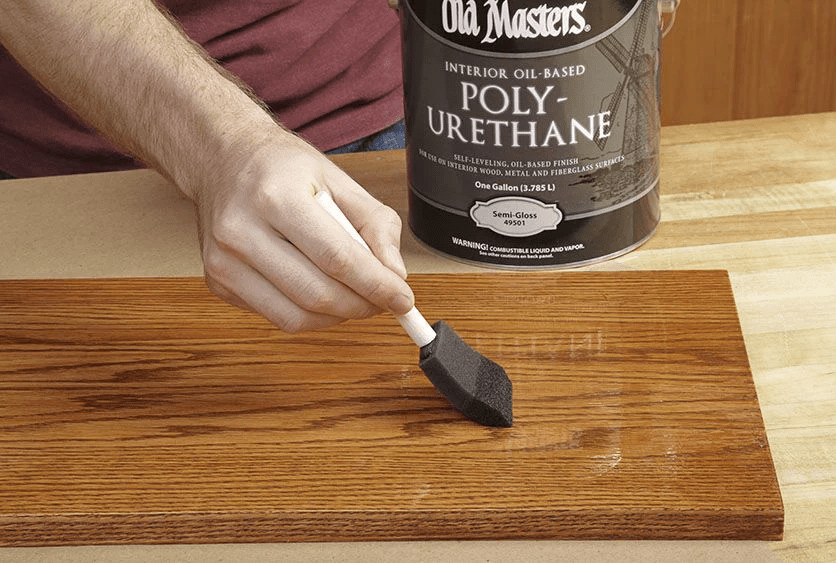
- Apply the Paint: Use a brush, roller, or sprayer to apply an even coat of waterproof paint to the plywood. Apply in long, even strokes to avoid streaks or drips.
- Dry and Recoat: Allow the paint to dry completely between coats. For the best protection, apply at least two coats, but three may be necessary for plywood exposed to extreme weather.
Method 3: Using Marine Varnish or Oil
Marine varnishes and oils offer a protective yet flexible finish for plywood. These finishes are ideal for outdoor furniture, boats, and decks. Here’s how to apply them:
- Prepare the Plywood: Sand the plywood to ensure a smooth surface and remove any imperfections.
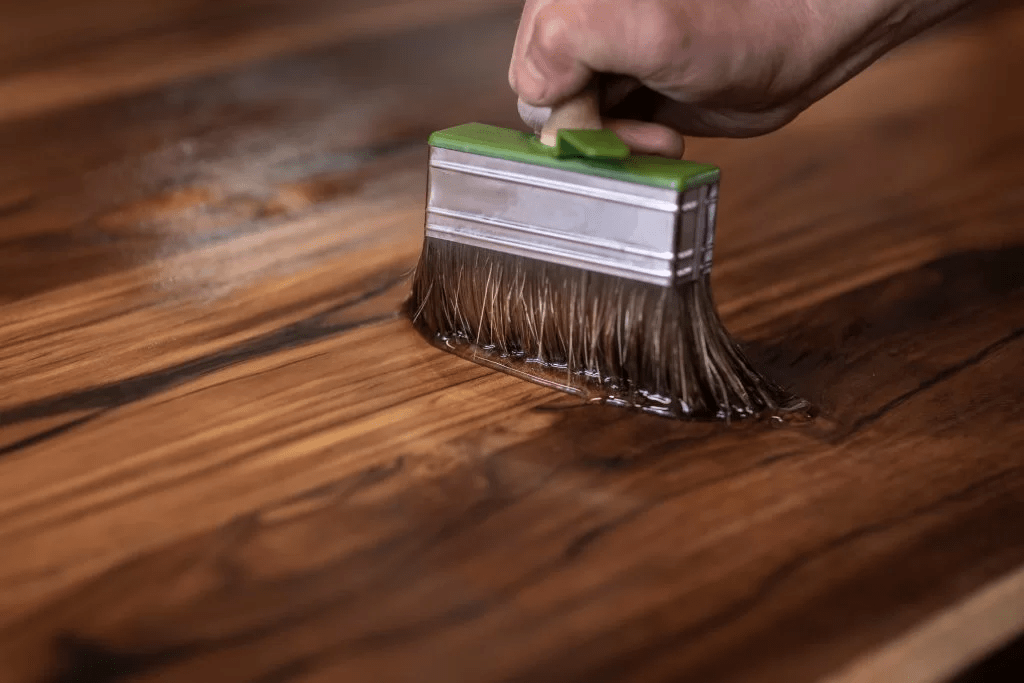
- Apply the Varnish or Oil: Use a brush to apply the varnish or oil in long, even strokes, following the wood grain.
- Multiple Coats: Apply at least three to four coats of varnish or oil, allowing each coat to dry thoroughly before applying the next.
Method 4: Using Wax Treatments
Wax is an easy, natural way to waterproof plywood for light-duty outdoor use:
- Clean the Plywood: Make sure the surface is free of dirt and debris before applying the wax.
- Apply the Wax: Rub the wax onto the plywood surface using a cloth or sponge. Work in small sections to ensure an even application.
- Buff the Surface: Once the wax is applied, buff the surface to bring out a natural sheen and enhance the protective barrier.
Post-Application Care
After applying the waterproofing treatment, follow these care tips to ensure the plywood remains properly protected.
You might be interested in this article: What Type of Plywood for Subfloor?
Drying and Curing Times
Each waterproofing product has its own recommended drying and curing times. Follow the manufacturer’s instructions carefully to ensure that the plywood has fully cured before being exposed to moisture. While sealants and oils may require just a few hours of drying time, paints can take up to 24 hours for a full cure.
Maintenance and Reapplication
Over time, the waterproofing layer may wear down due to exposure to the elements. To maintain the protection, periodically inspect the plywood for any signs of wear. If you notice peeling, cracking, or fading, it’s time to reapply the waterproofing treatment.
Reapply every 1 to 3 years, depending on the severity of weather exposure. Regular maintenance will keep your plywood protected and ensure that your projects remain intact for years.
Additional Tips and Tricks
- Dealing with Extreme Weather: If your plywood will be exposed to harsh conditions like snow, heavy rain, or high humidity, consider using marine varnish or epoxy-based waterproofing treatments for extra durability.
- Avoiding Common Mistakes: One common mistake when waterproofing plywood is overapplying the product, which can result in uneven coverage or peeling. Always apply thin, even coats and allow each to dry thoroughly before applying another.
Conclusion: Why It’s Worth It to Waterproof Plywood
Waterproofing plywood is an investment that will pay off in the long run. By taking the time to properly treat your plywood, you’re not only extending its lifespan but also ensuring that it remains resilient and attractive, even in harsh weather conditions. Whether you’re building outdoor furniture, a deck, or a shed, knowing how to waterproof plywood is essential for maintaining its integrity.
FAQ
Can I waterproof plywood with just varnish or paint?
Yes, both varnish and paint are effective methods for waterproofing plywood. Varnish is often used for its flexibility and aesthetic appeal, while paint provides a thicker, more robust layer of protection.
How often should I waterproof plywood if it’s exposed to the elements?
If exposed to harsh weather conditions, it’s advisable to reapply the waterproofing treatment every 1 to 3 years.
What’s the difference between marine plywood and regular plywood for waterproofing?
Marine plywood is specifically designed to resist moisture and is built with water-resistant adhesives, making it ideal for boat building and extreme weather conditions. Regular plywood is treated for outdoor use but doesn’t offer the same level of protection as marine plywood.