
Acrylic paint is one of the most widely used art supplies for crafting, home improvement, and DIY projects. From professional artists to hobbyists, acrylics are admired for their versatility and vibrant colors. But if you are new to this medium or looking to explore new techniques, you might ask yourself, can you use acrylic paint on wood? Whether you are painting a wooden sign, updating a piece of furniture, or creating a custom artwork, this guide will walk you through everything you need to know. We’ll cover the benefits of acrylic paint on wood, proper preparation techniques, application steps, and some fun creative project ideas to get your imagination flowing.
Why Acrylic Paint? The Advantages of Using Acrylic Paint on Wood
When it comes to choosing the right paint for a wood project, acrylic paint stands out as a top contender. But what exactly makes acrylics so popular among woodworkers, artists, and crafters alike? Here are some of the standout reasons why you should consider using acrylic paint on wood for your next project.
Quick Drying Time
Acrylic paint has an incredibly fast drying time compared to other paints, such as oil-based paints. This is one of the key reasons it’s favored by artists and DIY enthusiasts alike. The rapid drying process allows you to work on multiple layers of paint without worrying about long waits between coats. Depending on the thickness of your paint application, you can usually expect acrylic paint to dry in 15 minutes to an hour. This means you can quickly build up layers of color, add details, or make corrections without significant downtime. For wood projects, this rapid drying feature is particularly beneficial because it helps prevent the wood from absorbing too much paint, which could lead to uneven coverage.
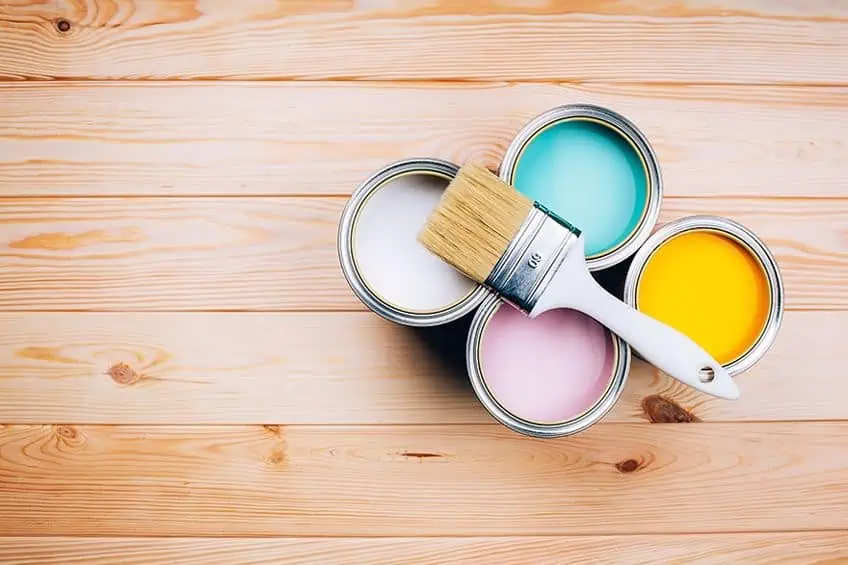
Vibrant, Durable Colors
One of the best characteristics of acrylic paint is its vibrant color palette. Acrylic paints retain their rich pigmentation after drying, creating a bold and bright finish. Whether you’re working on a large surface like a wooden table or a small, intricate design on a wooden sign, you can count on acrylic paints to deliver striking and long-lasting hues. Furthermore, acrylics are versatile in that they can be thinned with water to create lighter, translucent finishes, or applied thickly for a more textured, opaque look. Whether you’re seeking a soft pastel look or bold, saturated colors, acrylic paint is incredibly adaptable to your needs.
Ease of Use and Flexibility
Acrylic paint is exceptionally easy to work with, even for beginners. Its thick, creamy consistency makes it simple to spread on wood, and it’s easy to mix with other colors to achieve the exact shade you desire. Unlike oil paints, which require solvents for cleanup and can emit strong fumes, acrylics are water-based and virtually odor-free, making them a safer option for indoor use. Additionally, if you’re working on a project where you might want to change the look later, acrylic paint is very forgiving. You can layer, blend, and correct mistakes with ease. Acrylic paints are also flexible after they dry, meaning they won’t crack or peel as easily as other paint types.
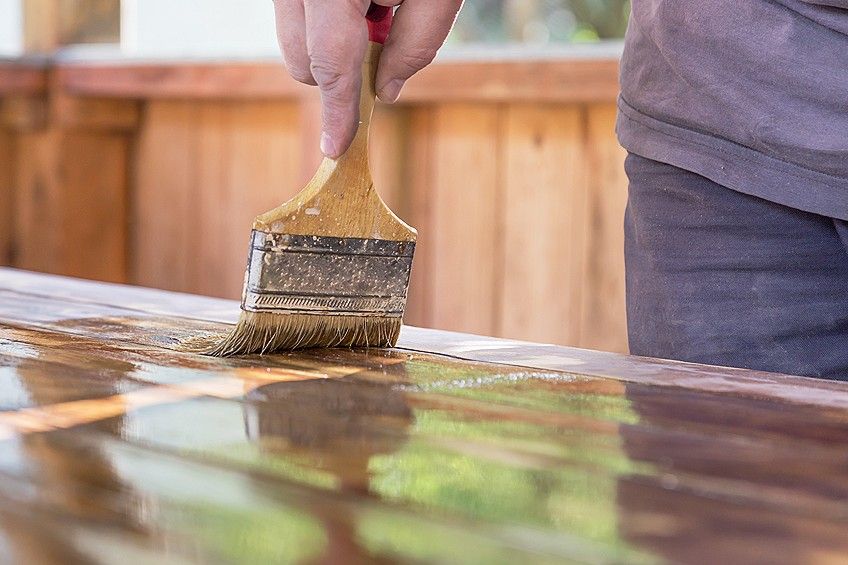
Long-Lasting Results
Once sealed, acrylic paint forms a durable, protective layer on top of the wood. When applied and finished correctly, the paint remains intact for years, making it a great option for both indoor and outdoor projects. If you’re creating a painted wooden piece that will be exposed to frequent handling or environmental elements, such as a chair, shelf, or garden décor, acrylic paint can withstand the wear and tear of daily use. With proper sealing, acrylic paint resists fading from sunlight, moisture, and scratches.

Can You Use Acrylic Paint on All Wood Surfaces?
The answer to the question, can you use acrylic paint on wood? is generally yes, but there are nuances based on the type of wood you are working with. Different types of wood respond to acrylic paint in various ways, and how the paint adheres depends on the texture, porosity, and condition of the wood.
Softwoods
Softwoods, such as pine, cedar, and fir, are ideal candidates for acrylic painting because they are relatively soft and porous. This means they readily absorb the paint, which helps the color bond with the surface. Softwoods are often used for rustic and natural finishes, and because of their absorbency, they may require more coats to achieve an even and opaque color. If you’re working with softwood, be sure to sand the surface well and use a primer to reduce the wood’s tendency to absorb too much paint. Applying multiple thin coats of paint can also help achieve better coverage.
Hardwoods
Hardwoods like oak, maple, and cherry have denser, smoother grains. While these woods still accept acrylic paint, they don’t absorb the paint as quickly as softwoods, which can lead to streaking or uneven coverage. To avoid this, it’s important to properly prepare the surface by sanding it to remove any existing finish or oils. For better adhesion, it’s recommended to apply a coat of primer before painting on hardwood surfaces. After priming, you may need to apply several layers of acrylic paint, allowing each layer to dry thoroughly before adding the next.
Plywood and MDF
Plywood and MDF (Medium-Density Fiberboard) are common materials used in many DIY and craft projects. While plywood is typically more porous and easier to paint, it can sometimes have a rough surface that needs to be smoothed out. MDF, on the other hand, is much denser and more absorbent, which may cause it to soak up more paint. For both plywood and MDF, proper sanding and priming are key. Once primed, acrylic paint will adhere well to these surfaces and provide a smooth, consistent finish.
Carved or Rough Surfaces
If you’re working with carved or heavily textured wood, applying acrylic paint can be a little trickier. The paint may not settle evenly into the crevices or may be absorbed unevenly by different parts of the surface. For these types of wood, it’s especially important to prep the surface by sanding rough edges, smoothing out any uneven areas, and applying a good-quality primer. Additionally, applying paint with a sponge or a thick-bristled brush can help you fill in details and ensure that the texture remains visible while still providing adequate color coverage.
Preparing Wood for Acrylic Paint: The Key Steps to Take
Whether you are working with smooth hardwood, rough plywood, or intricate carved surfaces, preparing the wood properly before applying acrylic paint is essential. Skipping the prep work could result in poor adhesion, uneven coverage, and a finish that won’t last. Here are the critical steps to properly prepare your wood for acrylic paint.
Sanding the Wood
Sanding is the first and most important step in preparing wood for acrylic paint. Sanding removes dirt, old finishes, and rough patches, making the surface smooth and ready for painting. Start with medium-grit sandpaper (around 120-grit) to remove larger imperfections and then follow up with fine-grit sandpaper (around 220-grit) to achieve a smooth finish. If you’re painting over a glossy finish, be sure to sand it well so the paint can properly adhere. Sanding should always be done in the direction of the wood grain to avoid scratches that may be visible after the paint is applied.
Cleaning the Surface
Once the wood is sanded, thoroughly clean the surface to remove dust and debris. Any leftover dust from sanding can prevent the paint from adhering properly and result in an uneven or rough finish. You can use a damp cloth to wipe down the wood, or you can use a tack cloth (a special cloth designed to remove dust and particles) for more precision. If your wood is particularly dirty, a mild detergent solution or wood cleaner can be used, but be sure the surface is dry before moving to the next step.
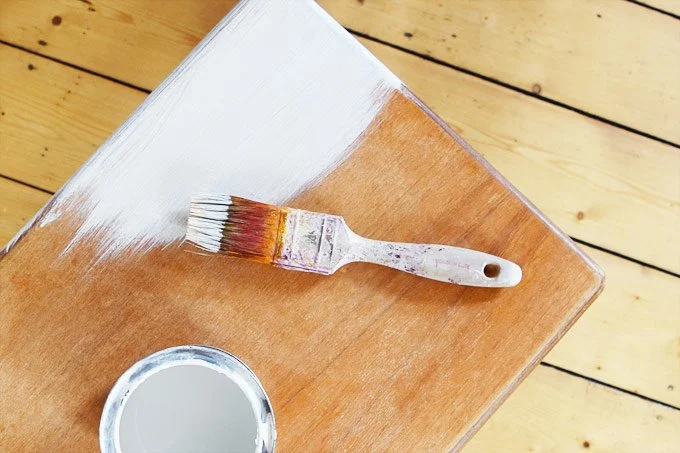
Priming the Wood
Applying a primer before painting is one of the most important steps to ensure the best possible results when using acrylic paint on wood. Primer seals the wood, creating an even surface for the paint to adhere to and preventing the wood from absorbing too much paint. There are many types of primers available, so choose one that’s suitable for your specific project. For example, a bonding primer is ideal for slick or glossy woods, while a stain-blocking primer is great for woods like pine, which have tannins that can bleed through the paint. Apply the primer evenly, using a brush or roller, and allow it to dry completely before moving on to painting.
Sealing (Optional)
If you are working with particularly porous wood or outdoor projects, consider sealing the wood after priming. A sealant adds an extra layer of protection and helps prevent the wood from warping or absorbing excess paint. For projects that will be exposed to outdoor conditions, using a weather-resistant sealer is especially important to ensure that your paint job lasts. Choose a sealant that’s compatible with acrylic paints and apply it according to the manufacturer’s instructions.
Applying Acrylic Paint on Wood: Tips for a Flawless Finish
Once your wood is prepped and ready, it’s time to apply the acrylic paint. Here’s a step-by-step guide to help you achieve a smooth and professional finish.
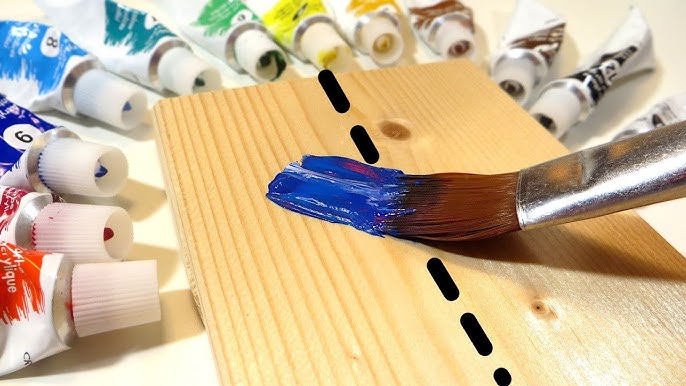
Step 1: Choose the Right Tools
The tools you use to apply your acrylic paint can make a huge difference in the final result. Brushes come in various shapes, sizes, and bristle types, so choose the one that suits your project. For large surfaces, a wide flat brush or foam roller will cover the area quickly and evenly. For smaller, intricate designs, use fine-tipped detail brushes. High-quality brushes are key to achieving a smooth finish and reducing the risk of brushstrokes or streaks.
Step 2: Start with Thin Layers
It’s important to start with thin layers of paint to avoid overloading the wood with color. Apply one thin coat of acrylic paint, allow it to dry, and then assess whether you need additional coats. Thicker layers may result in cracking or peeling over time, so multiple thin layers will give you better control and a more durable finish.
Step 3: Work in the Direction of the Grain
To achieve a professional-looking finish, always paint in the direction of the wood grain. This helps the paint to settle smoothly into the surface and ensures a consistent look throughout the project. Avoid applying the paint in circular motions, as this can lead to streaks or uneven coverage.
Step 4: Allow for Drying Time Between Coats
Acrylic paint dries quickly, but it’s still important to allow adequate drying time between coats. Depending on the thickness of your application, wait at least 15 minutes to an hour before adding additional layers. If you’re applying multiple layers, lightly sand the surface between coats to smooth out any uneven spots and ensure better adhesion of the next layer.
Sealing and Finishing: How to Protect Your Acrylic Paint on Wood
Once your acrylic paint has fully dried and you’re satisfied with the results, it’s essential to seal and finish the wood to protect the paint job and ensure longevity.
Why Sealing is Important
Sealing your painted wood project with a clear acrylic varnish or polyurethane adds a protective layer that guards against damage from UV rays, moisture, and general wear. For outdoor furniture, garden signs, or anything exposed to the elements, sealing is crucial for durability. It also helps protect the paint from scratches or scuffs, especially if the painted wood will be handled often. There are various types of sealers available, including matte, satin, and glossy finishes. Choose a finish based on the look you want to achieve.
Types of Sealants
When sealing acrylic paint on wood, you can opt for a water-based polyurethane or a specialized acrylic varnish. Polyurethane offers excellent protection, making it perfect for projects that will be used frequently or exposed to harsh conditions. Acrylic varnishes provide a more flexible finish and are less likely to crack over time, making them ideal for projects that will undergo frequent temperature or humidity changes. Apply the sealant evenly, following the manufacturer’s instructions, and allow it to dry completely before using or handling the wood.
Conclusion: Is Acrylic Paint the Right Choice for Your Wood Project?
Now that we’ve answered the question, can you use acrylic paint on wood? and explored the many benefits and techniques involved, you can confidently decide if acrylics are the right choice for your project. Acrylic paint offers vibrant, durable colors and a user-friendly application process, making it a top pick for wooden projects of all types. Whether you’re painting indoor furniture, outdoor décor, or custom art pieces, acrylic paint on wood can produce stunning, long-lasting results. With the proper preparation and finishing steps, you’ll be able to create beautiful works that will last for years to come. So go ahead — grab your brushes and unleash your creativity on wood!