
Plywood subfloors are often hidden beneath our flooring, but they play a critical role in the foundation of our homes. Whether you’re looking to prepare for new flooring, maintain an existing one, or simply improve the cleanliness of your home, knowing how to clean a plywood subfloor is an essential skill. Plywood subfloors can collect dust, dirt, debris, and even mold over time, so proper cleaning ensures that the surface remains solid and stable for the floors above.
In this guide, we will walk you through every step you need to take to properly clean your plywood subfloor, preventing common problems like mold and ensuring that your flooring adheres correctly for long-lasting results.
Why It’s Crucial to Keep Your Plywood Subfloor Clean
The condition of your plywood subfloor affects the integrity of your entire floor system. Cleaning the subfloor not only enhances the look of your space but also ensures that the floor above is secure and long-lasting.
Say Goodbye to Mold and Mildew
One of the biggest issues with dirty plywood subfloors is the potential for mold and mildew growth. These fungi thrive in damp, dark places, which makes a plywood subfloor an ideal environment if it’s left dirty or wet. Mold and mildew can not only damage the wood itself but can also cause serious health problems over time. Cleaning your plywood subfloor regularly will help prevent mold growth and maintain a healthier indoor environment.
Ensure Strong Adhesion for New Floors
When you install new flooring, it’s crucial that the surface beneath it is clean. Dust, dirt, and debris can all interfere with the bonding process between the subfloor and your new floor. If the plywood is covered with dirt or grime, your new floor may not adhere properly, leading to peeling, bubbling, or other issues. A clean plywood subfloor is essential for a smooth, long-lasting floor installation.
Maintain a Healthier Home Environment
Over time, dirt and dust can accumulate on your plywood subfloor. These particles can become airborne and affect your indoor air quality, causing allergies or other respiratory issues. By cleaning your subfloor, you prevent dust from spreading and create a cleaner, healthier living space for you and your family.
Extend the Life of Your Plywood and Flooring
A clean plywood subfloor isn’t just about aesthetics. Regular cleaning ensures the longevity of both the subfloor and the flooring above it. Dirt, grime, and moisture can cause premature wear on your subfloor and the finished floor. Cleaning removes these harmful substances, protecting the integrity of your floors and preventing costly repairs.
Preparing to Tackle the Cleaning Process
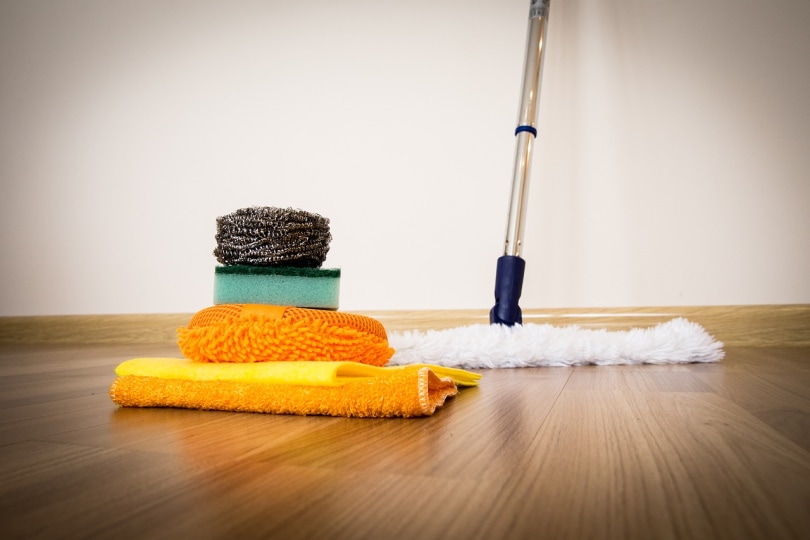
Cleaning your plywood subfloor requires some preparation. Having the right tools and materials will make the job much easier and more efficient. It’s important to gather everything before you start to ensure you don’t need to stop midway through.
What You’ll Need for the Job:
- Vacuum cleaner with hose attachment: Helps remove dirt from crevices and corners.
- Mop and bucket: For washing the surface and wiping away grime.
- Cleaning solutions: You can use natural cleaners like vinegar and water or commercial plywood cleaners.
- Scrub brush or stiff-bristled broom: For scrubbing away stubborn dirt and grime.
- Microfiber cloths or rags: Ideal for wiping the surface after cleaning.
- Protective gloves and goggles: For protection while handling cleaning chemicals.
- Respirator or mask: Protects against inhaling dust and chemicals.
- Painter’s tape (optional): Helps mask off areas you don’t want to clean, like edges or corners.
Safety First: Precautions to Keep in Mind
Safety is a key aspect of cleaning your plywood subfloor. Make sure the area is well-ventilated, especially if you’re using cleaning products that could release fumes. Always wear gloves, goggles, and a mask to protect yourself from cleaning chemicals and dust. Plywood dust can be harmful, especially if you’re working in a poorly ventilated area, so always take precautions to protect your health.
How to Clean Your Plywood Subfloor: Step-by-Step
Once you have all your supplies, it’s time to get to work. Cleaning your plywood subfloor doesn’t have to be a daunting task if you follow these simple steps. Let’s break down the process into manageable parts.
Step 1: Clear the Area and Inspect the Subfloor
Before you start cleaning, clear the area of all furniture, rugs, and obstacles. This allows you to work freely and ensures that no debris gets in your way. While you’re at it, take the time to inspect your plywood subfloor for any visible damage. Check for cracks, water stains, or other signs of wear. If you find issues, they should be addressed before you continue cleaning.
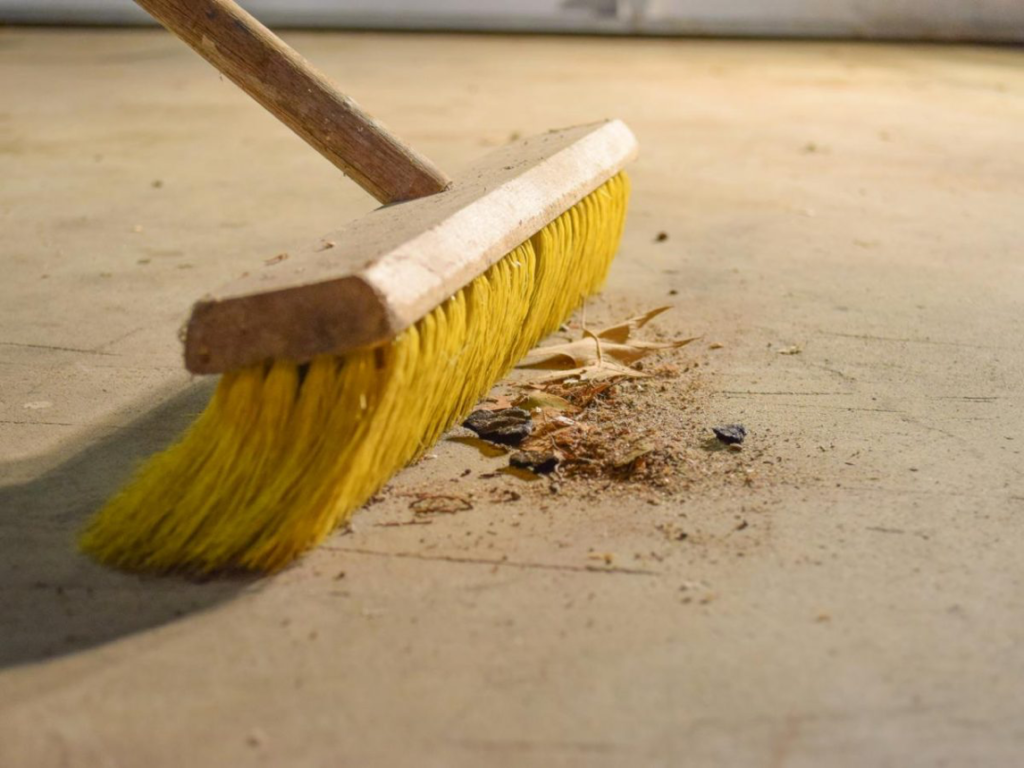
Step 2: Sweep or Vacuum the Surface
Start by vacuuming the area to remove loose dirt and dust. Use the hose attachment to get into corners and along the edges where dirt tends to accumulate. If you don’t have a vacuum, you can use a stiff-bristled broom to sweep away debris. This is an essential step to remove surface dirt before tackling tougher grime.
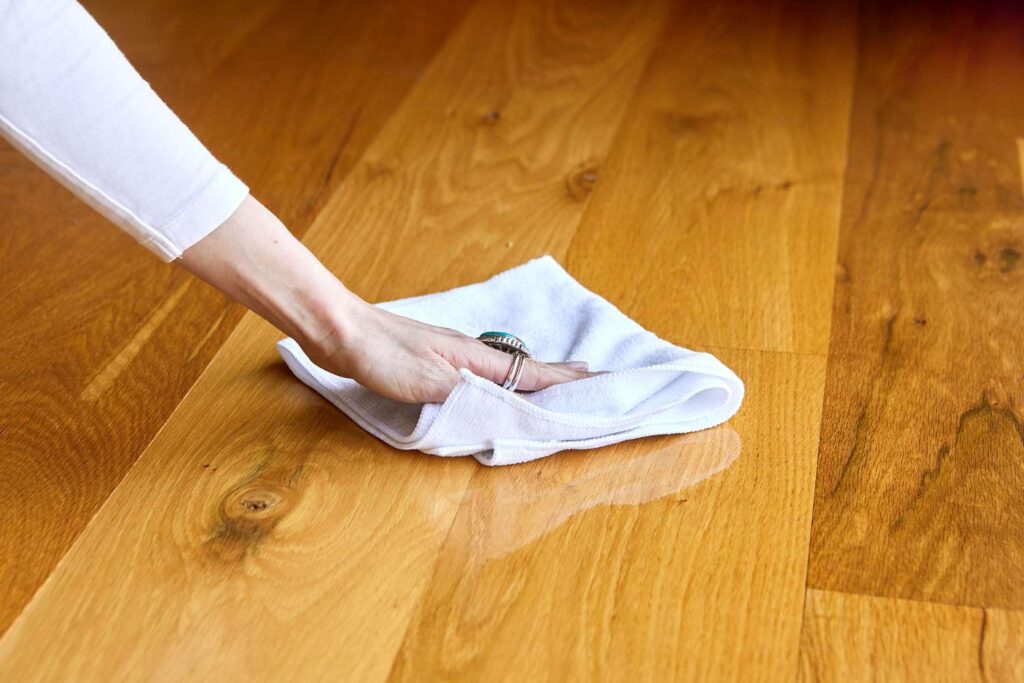
Step 3: Tackle Stubborn Grime
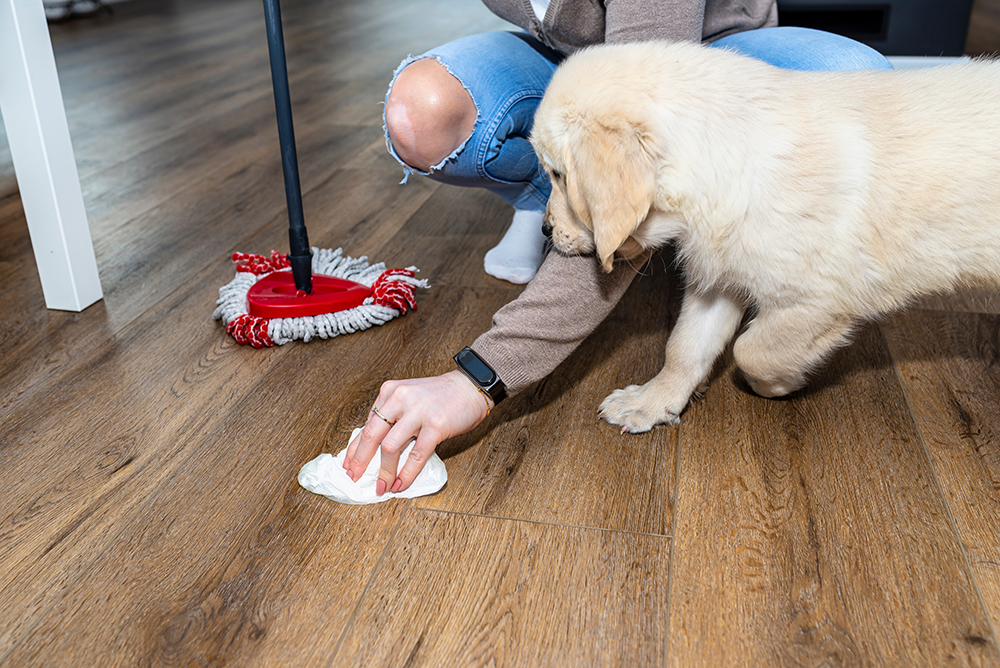
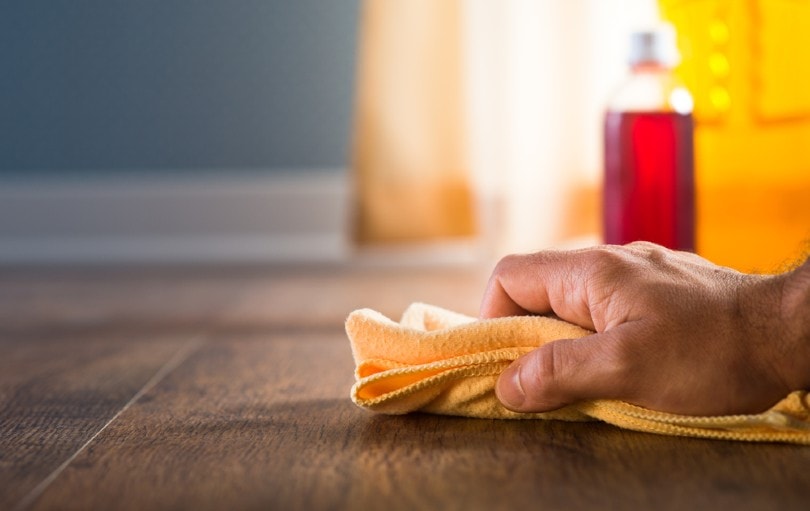
Now that the bulk of the dirt is gone, it’s time to deal with any remaining grime. For light dirt, a microfiber cloth dampened with warm water and mild soap will work just fine. Gently wipe down the surface to lift away the grime. If you’re dealing with stubborn dirt, you may need a stronger solution.
Mix water and vinegar or use a commercial plywood cleaner to tackle the tougher areas. Use a scrub brush to gently scrub away the dirt, especially in crevices and along edges. Be gentle with the wood to avoid damaging the surface.
Step 4: Spot Clean Stains
If you notice any stains, such as oil, paint, or water marks, now is the time to address them. For oil stains, a degreaser will do the trick. For other types of stains, a mixture of water and vinegar can help lift them. Apply the cleaner to a microfiber cloth and gently scrub the stain until it’s gone.
Step 5: Remove Mold and Mildew
Mold and mildew can be a serious issue on plywood subfloors, especially in damp areas like basements. If you spot any mold or mildew, you must act fast. To kill the mold, mix one part bleach with three parts water, or use hydrogen peroxide. Apply the solution to the affected areas and scrub gently with a brush. Be sure to wear protective gloves and a mask to avoid exposure to mold spores.
Step 6: Dry the Plywood Subfloor Thoroughly
After cleaning, it’s essential to dry the plywood subfloor completely. Excess moisture can cause plywood to warp or rot over time. To ensure the subfloor dries thoroughly, allow it to air dry. You can also use fans or a dehumidifier to speed up the process. The drier the surface, the less chance there is for moisture to cause further issues.
Extra Tips for Keeping Your Plywood Subfloor Clean
Cleaning your plywood subfloor isn’t a one-time job. Regular maintenance will help keep the surface in great shape and prevent problems from arising.
Prevent Dirt from Building Up
To avoid a buildup of dirt and dust, place doormats at all entryways to catch debris before it enters your home. Consider making it a habit to vacuum your plywood subfloor every couple of months to prevent dirt from accumulating.
When to Clean Your Subfloor During Renovations
If you’re remodeling or installing new flooring, it’s the perfect time to clean your subfloor. A clean surface is essential for proper adhesion of your new floor. Cleaning the subfloor will also help you identify any issues, like moisture problems, that could affect your new flooring installation.
Avoid These Common Cleaning Mistakes
While cleaning your plywood subfloor, make sure not to make the following mistakes:
- Using too much water – Plywood is highly absorbent, and excess moisture can lead to warping or rot.
- Scrubbing too aggressively – Plywood can be delicate, so use gentle scrubbing motions to avoid damaging the surface.
- Ignoring moisture issues – If your plywood subfloor has moisture problems, fix them before you clean. Otherwise, mold and mildew can quickly return.
When to Call a Professional
Sometimes cleaning your plywood subfloor is beyond a DIY job. If you notice severe water damage, mold infestations, or structural issues, it’s best to call a professional. They can assess the damage and help you with repairs or more specialized cleaning.
Wrapping It Up: The Importance of Cleaning Your Plywood Subfloor
Cleaning your plywood subfloor is an essential part of maintaining a healthy and long-lasting home. Whether you’re preparing for new flooring installation, trying to eliminate dirt or mold, or just ensuring the cleanliness of your space, these cleaning steps will help you keep your subfloor in excellent condition.
By following this detailed guide, you can rest assured that your plywood subfloor will be free from dirt, moisture, and mold. The result? A healthier home environment and more durable floors that will stand the test of time.
FAQs: Quick Answers to Your Plywood Subfloor Cleaning Questions
How often should I clean my plywood subfloor?
At least once a year or whenever dirt or grime starts to accumulate. If you notice moisture, clean it immediately.
Can I use a steam cleaner on plywood?
No, steam can introduce too much moisture, which could damage your plywood subfloor.
What are the best cleaning products for plywood subfloors?
Vinegar and water, or commercial plywood cleaners are both effective options. Avoid harsh chemicals.
How do I prevent moisture buildup under the plywood?
Use proper ventilation in damp areas, and consider installing a moisture barrier when installing new floors.
By consistently cleaning and maintaining your plywood subfloor, you ensure a sturdy, lasting foundation for your floors. This effort will pay off with cleaner, more durable living spaces for years to come.